
Better Websites to own 2025
Jun 11, 2025
Have so many freeze-dried food but don’t know how to seal it? Got a bulk of emergency freeze-dried food you’re afraid to open because it will spoil? Then we’ll teach you how to vacuum seal freeze dried foods to help keep them longer.
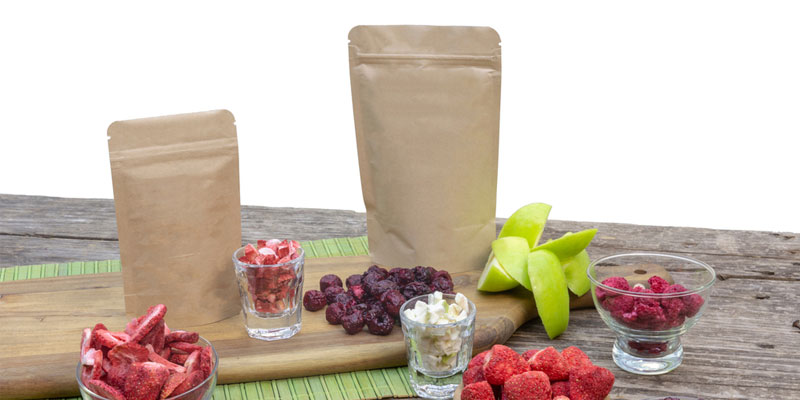
One of the popular options for storing freeze-dried food is Mylar bags. This is because they keep out air and moisture better than Ziplock bags. Close to glass, they’re the next best impermeable material that can help keep your food fresh longer. The problem is they don’t have air chambers that FoodSaver vacuum sealers need to help suck out the air. But that doesn’t mean that you can’t vacuum seal them. It’s very easy as long as you have the right materials.
For vacuum sealing freeze-dried food in mylar bags, you’ll need:
Now here comes the fun part on how to seal freeze dried foods. On this step, though, you have to act fast. Oxygen absorbers have a window of 20-30 minutes before it reaches full capacity. So make sure everything’s ready before you take out your oxygen absorbers.
Note that you’re not going to make a perfect vacuum seal with this method. Still, it’s way better than sealing the Mylar bag with a heat sealer.
Some people say that when you add in oxygen absorbers, your bag will have this vacuum-sealed look. In a way, it will. Because O2 packs absorb oxygen, which is 21% of air. Still, there are other gases that make up the air inside your Mylar bag that oxygen absorbers can’t suck in. So getting that tight, vacuum-sealed look isn’t going to happen with just oxygen absorbers.
Tempting the idea may be, we don’t recommend it. No matter how careful you are, you will still introduce saliva into your food pack. This can cause major spoilage of your food and ruin your preservation efforts.
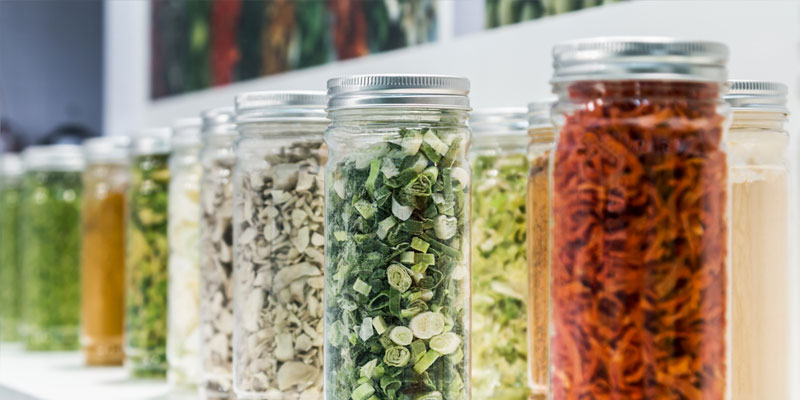
This is easier than Mylar bags because there are tools and attachments made for this. What you’ll need are:
Before you seal, check the lip of the mason jar and the quality of the lids. One food storer was surprised to find his oxygen absorbers indicated they were used up. He opened the lid and found a crack on the lip of the mason jar. This eventually let the air in even after vacuum sealing it, so their freeze-dried food wasn’t as fresh as it should have been.
If you ordered freeze-dried food kits in large bags or #10 cans, chances are you’re hesitant to open them. And it’s okay because we all know once we open the seal, the shorter the lifespan will be of freeze-dried food.
So what you can do is to re-pack the food in separate Mylar bags or Mason jars. This way, you help keep the food good for eating longer. And if you opened the Mylar bags and Mason jars, you can just reseal them again for later use.
But remember that whenever you open the sealed containers, you’re cutting down the storage life. This is because each time you open the containers, you expose the food to moisture and oxygen. It may keep longer after resealing, but don’t expect it to last more than 5-10 years after opening.
We hope these tips on how to vacuum seal freeze dried foods helped you. If you have questions, please let us know in the comment section.
For more tips on how to freeze dry food, don’t forget to subscribe to our YouTube Channel!