Better Websites to own 2025
Jun 11, 2025

Breastmilk is liquid gold and can save lives for many children. But freezing breastmilk doesn’t guaranty long-term supply down the road when things get rough. So how do you make them last longer? Here’s how to freeze dry breast milk so you’ll have your stash for years ahead.
Before you get started, you have to get your materials ready. You’ll be needing:

It’s easier to process frozen breastmilk that’s formed in their bags. It’s cleaner and safer than thawing frozen breastmilk, pouring them on trays, and then putting them back in the freezer. You’ll end up spilling your milk, wasting it, or might even hurt yourself when you slip.
Cleanliness is of utmost importance when you’re going to freeze dry breast milk. Every single utensil or tool you’re going to freeze dry it. Remember that your baby’s gut is still developing. It doesn’t have a natural environment to help your baby protect itself from microbes.
Clean your hands well and use gloves to help prevent contaminating your breast milk. For your sink, scrub every single surface really well, including the surrounding surface. The cleaner the surface, the better. When you’re done cleaning, disinfect the surface with some disinfectant wipes to be sure.
For the cups that you’re going to use, sterilize them well. Treat them like you would feeding bottles. There’s no room for error here because every drop of breastmilk is precious, and so is your baby.
Weigh the breastmilk you’ll be freeze drying before you load them in the freeze dryer. This will be your wet weight. Then once you’re done freeze-drying, write the weight down as well. This will serve as your dry weight.
You will need these numbers when you reconstitute your breastmilk later for use. Remember that your baby gets its hydration from breast milk. By using the wet and dry weights together, you’ll know how much water you’ll add for proper reconstitution.
Make sure you deduct the bag’s weight so you don’t skew your numbers. Also, remember to do this for each batch. How rich your breastmilk always depends on your diet and fluid intake. So each batch should have its own separate weight measured.
What you’re going to do is fill your sink with hot water. This is to help loosen the breastmilk from the bag, so it’s easier to take out. Safer, too, compared to just letting it sit at room temp for a few minutes.
You need to act fast here, especially when the room is hot. You don’t want to melt down your breast milk. Keep it in its frozen form as much as possible. Also, pre-freeze your freeze-dryer trays, so they don’t melt the milk.

You’ll see that the bags will drip some milk out into the cup. Squeeze out the milk from each bag into the cup. Make sure that each bag is dry, so you don’t contaminate the milk.
Once done, place the cup of milk in the freezer and let the fat separate. Remember that fat doesn’t freeze dry well, so you’ll need to do this. Next, pour out the milk into milk freezing trays, and freeze them. You’ll be able to freeze-dry this extra milk together with your batch of frozen milk. Make sure to do a final weighing in with this before you start the process.
You mustn’t let your freeze dryer get as hot as body temperature. This will cause your breast milk to spoil. So customize the settings and set the drying temperature to 95°F.
Then choose non-liquid because your breastmilk’s already frozen. Then choose pre-frozen.
Once you’re ready, it’s time to start freeze-drying.
How to freeze dry breast milk in terms of hours? It’s going to run for 24-48 hours for the initial freeze-drying. You’re going to cycle this twice because the center’s still wet. After the initial cycle, take the clean and sterilized spatula, then break the bricks down to expose the center.
Put the trays back into the freeze dryer and run the cycle again until the milk is completely dry. This will take about 12 hours for this round. Inspect the trays to make sure every single piece is dry. If you need to, put the milk back in for an extra round.
This is where your wet and dry measurements come in. To get the right amount of water for reconstituting, you subtract the dry weight from the wet weight.
Then you’ll need to know how much powder to prepare an ounce of liquid breastmilk. That will be dry weight divided by water to add.
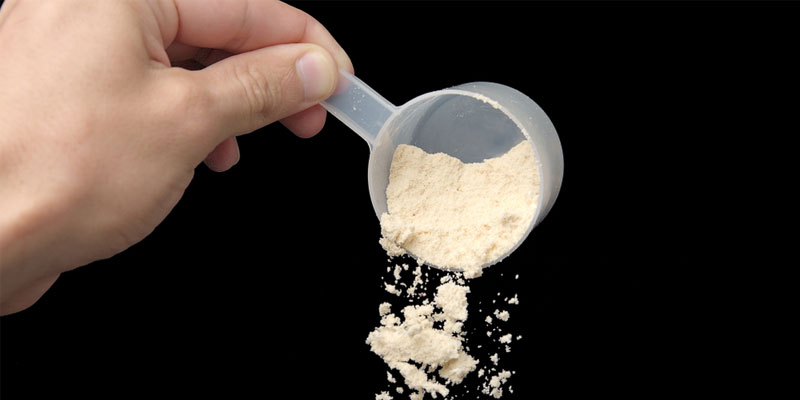
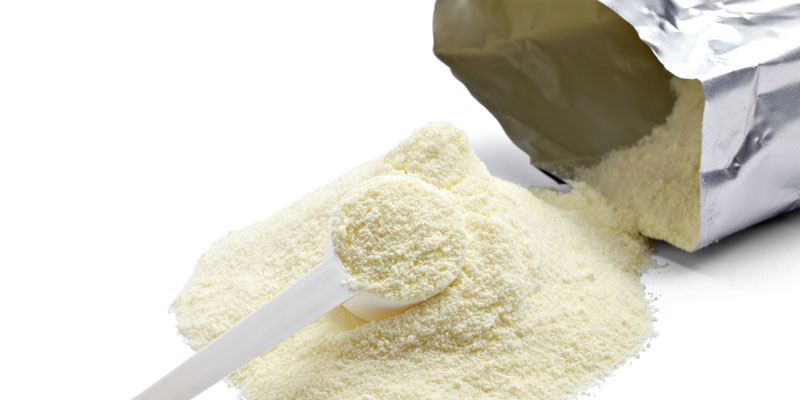
To make your life easier, store the powder in individual Mylar bags that are enough for what you need. This way, you don’t need to take out the weighing scale and measure every time you need breast milk. For example, one bag will have enough milk to make 8oz of liquid breastmilk, or another will have enough freeze-dried breast milk to make 4oz.
This is a really tricky and tedious process. But once you get it done, it’s all worth the effort.
Still, a word of caution when freeze-drying your breastmilk. Professionals advise against it because it requires strict standards for sanitation. If you’re not confident about how to do this safely, some companies specialize in freeze-drying breastmilk.
For more tips and videos on freeze drying, don’t forget to subscribe to your YouTube Channel.