
Better Websites to own 2025
Jun 11, 2025
Shallots are one of our favorite aromatics because of their mix of onion and garlic flavors. It’s a challenge, though, to keep them fresh for months. That’s why we decided to freeze-dry them to have our supply without worrying about spoilage.
The best shallots are the ones that are firm to the touch. If any of the shallots feel soft or mushy, discard them. Slightly press around the bulb, but don’t trust that, even if it’s firm. Occasionally, the outer layer’s okay, but the inside is rotten. To spot this, pay close attention to the root area and tunic. The tunic is where the tubular green leaves emerge from the aromatic. If these sections are soft, the shallot’s center is rotten.
Also, avoid sprouting shallots. These are mature shallot and are starting to lose their flavor. They can have a bitter taste which can intensify when you freeze-dry them.
There are two steps to prepare your shallots. The first is peeling them, then cutting them into your desired shapes and sizes.
To prepare the shallots, you must first peel out the paper-thin skin. Because of their small size and segmented bulbs, they’re a little bit of a pain to peel. But do not fret because there are two schools of thought about peeling.
This is the easiest method for others to peel the shallots, especially if you have small ones that are tedious to take care of. It’s also ideal for helping get rid of any mold and mildew hiding underneath the skin. What you do is:
This is ideal for larger shallots that are easier to handle.
After peeling the shallots, give them a final rinse to thoroughly remove any skin or dirt left behind. Then, dry them on paper or kitchen towels, and they’re ready for processing.
Once you get your shallots all peeled and cleaned, you can slice and dice them however you want.
If you want shallot rings, cut them crosswise from the top, then discard the root area.
To mince or dice the shallots, first make lengthwise cuts, making sure not to cut to the roots. This will hold all the segments intact as you cut the aromatic again crosswise.
Shallots are usually cut very thinly compared to onions. But just in case, keep the cuts 1/2 to 1/3 inch thick. Also, separate the segments after cutting to help give more surface area. The more the shallot segments are exposed, the easier it is for moisture to escape.
There are two groups of people who freeze dry: one pre-freezes, and the other doesn’t. This is because your freeze dryer can freeze your food for you at temperatures -30°F (-34°C) to -50°F (-45°C). That’s colder than a deep freezer that has a temperature of 0°F (-18 °C).
The limitation here is the length of the freezing time, which can influence the length of the whole process. Pre-freezing can help remove significant hours. However, you need to pre-freeze the bulbs for 48 hours before you freeze dry.
The trays and chamber should also be cold when you pre-freeze the shallots. Your freeze dryer will pre-cool itself for 15-30 minutes. This means don’t load the trays unless the chamber’s cold. Otherwise, your trays of aromatics would melt.
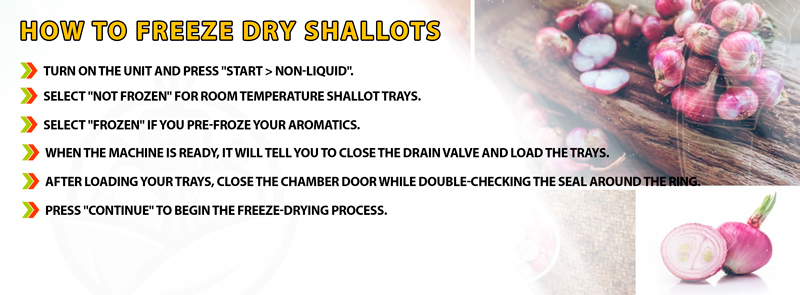
To freeze dry shallots, all you have to do is:
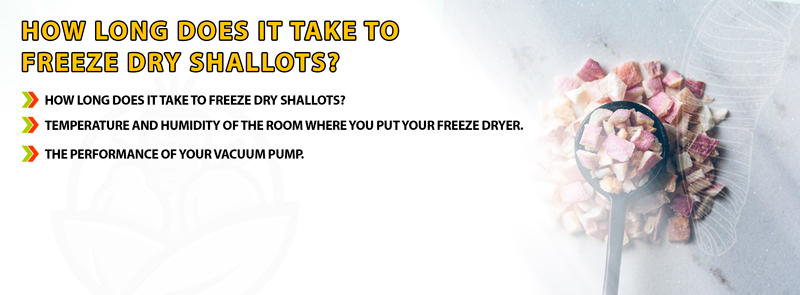
Freeze drying can take 16-32 hours, depending on:
You have two options for storage: Mason jars and Mylar bags.
If you cook with the freeze-dried shallots often, then Mason jars work effectively. You can open and reseal them each time you need some for your recipe. The shallots are also very delicate, so the thick walls of the jars can help keep your stash whole.
Do you want to store your freeze-dried shallots for long term or bring them with you on trips? Then Mylar bags are excellent. They’re designed to help keep your aromatics fresh for years and don’t take up much space. Unfortunately, although they last long, they’re not strong enough to prevent squishing. This means you might end up with powdered bits of shallots when you take them with you on trips.
Whatever you choose, remember to add oxygen absorbers. These remove oxygen that causes food spoilage in stored food. Use 1-2 of the 300cc packets for every gallon size of your containers. If you have pint-sized containers, 1-2 of the 200cc would do the trick. Once you add them, seal your containers tightly.
You can make them last for 25 years or more by keeping them in a cool, dry, dark place. Maintain the room temperature below 72°F (22 °C) and the relative humidity level 15% or less to prevent spoilage.
Rehydrating is as easy as pouring water over the aromatic. Let the slices steep for 5-10 minutes until soft and ready. But if you’re using freeze-dried shallots for soups and stews, rehydrating is unnecessary. Unless, of course, you want caramelized shallots. The water from the recipe will be enough to soften them.
Freeze-drying shallots helps you have this versatile aromatic handy for any recipe. They’re great for salads, soups, stews, and even sandwich dressing. By freeze drying, you no longer have to worry about smells, molds, and spoilage when you store shallots.
We love freeze-dried shallots on our salads, and they make our sauces taste amazing. What do you want to use your FD aromatics for? Let us know in the comment section.
Want to see more visual tips and tricks for freeze-drying? Then please subscribe to our YouTube Channel for more freeze-drying videos.